how can i make jewelry Best Expert-Backed Proven Step-by-Step Essential Success
How can I make jewelry at home without wasting money or getting overwhelmed? Start by treating jewelry-making like any other craft: learn the basics, buy only what you will use, and build skills in small, repeatable steps. Look, the internet makes it easy to collect ideas, but the fastest progress comes from finishing simple pieces and refining them.
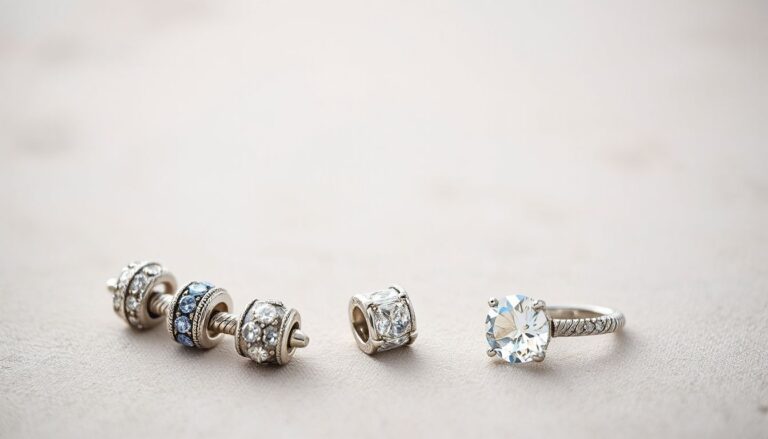
Jewelry can be as accessible as stringing beads or as technical as soldering metal. Your best path depends on your preferred style, budget, and patience for detail. Some people love the rhythm of wire wrapping. Others want clean, minimal pieces made with jump rings and chain.
Here is the practical reality: most “beginner frustration” comes from weak tools, mismatched findings, and skipping safety basics. Fix those early and your results improve immediately.
Real-world example: a first project many beginners succeed with is a beaded bracelet using elastic cord, 8 mm beads, and a simple knot-and-glue finish. It takes under 30 minutes, teaches tension control, and produces something wearable on day one.
Buying Guide: Tools, Materials, Budget, Skill Level, and Safety
Buying supplies is where many beginners overspend. But here’s the thing: jewelry-making has “core tools” that work across dozens of projects, and “specialty tools” you should only buy when a design demands them.
Start by choosing a lane. Beading and stringing require fewer tools than wirework. Metal stamping and soldering require more space, ventilation, and practice. If you pick one primary method for the first month, your purchases stay focused and your skills build faster.
- Core hand tools: chain-nose pliers, round-nose pliers, flush cutters, and nylon-jaw pliers for protecting wire.
- Core materials: jump rings, ear wires, head pins, crimp beads, beading wire or elastic cord, and a small selection of beads.
- Consumables: polishing cloths, glue (as needed), and storage organizers to prevent lost findings.
Budget planning matters. A $25 kit can work for learning, but a $60–$120 starter setup with decent pliers usually saves money because tools do not deform wire or leave deep marks.
| Skill level | Recommended focus | Typical budget range |
|---|---|---|
| Beginner | Beading, elastic bracelets, simple earrings | $25–$90 |
| Intermediate | Wire wrapping, crimping, chain work | $80–$200 |
| Advanced | Soldering, metalsmithing, stone setting | $200+ |
Safety is not optional. Wear eye protection when cutting wire, keep sharp ends contained, and use a dust mask when sanding or polishing. If you solder, add ventilation and follow manufacturer instructions for flux and pickling solutions. Now, keep it simple: if a process feels hazardous, pause and learn it properly before continuing.
How Can I Make Jewelry Step-by-Step: From Design to Finished Piece
Good jewelry starts with a plan. Not a perfect sketch. A clear idea of size, materials, and how the piece will open and close. Start with one wearable goal: “a 7-inch bracelet with a clasp” or “small hoop earrings under 1.5 inches.”
- Define the design: choose a style, pick 2–3 colors or metals, and decide the focal element (pendant, bead, charm).
- Select findings: match metal tones (silver with silver, gold with gold) and confirm the clasp type (lobster, toggle, magnetic).
- Measure and mock up: use a bead board or lay components on a ruler. Check drape and spacing.
- Assemble: open jump rings by twisting sideways, not pulling apart. Crimp beads with a crimp tool if using beading wire.
- Finish and test: tug gently on connections, check sharp edges, and confirm the clasp works smoothly.
Now, technique matters. For jump rings, always twist open and twist closed until the ends meet cleanly. This single habit prevents gaps that cause breakage and lost charms.
Here is a practical example you can replicate: make a simple pendant necklace. Cut chain to 18 inches. Add a jump ring to attach the pendant. Attach a lobster clasp on one end and a jump ring on the other. Test the closure, then polish with a cloth. Done.
Quality control is what separates “crafty” from “professional.” Check symmetry, ensure both earrings match in length, and verify that crimped connections do not slide. If something fails, do not hide it. Rebuild it. That is how skill grows.

- Pro tip: photograph your layout before assembly so you can recreate it consistently.
- Pro tip: keep scrap wire to practice wraps and loops before using your good materials.
- Pro tip: label bead sizes and wire gauges to avoid mismatches mid-project.
Best Kits and Tools for Beginners: Expert-Backed Reviews and What to Buy
Beginner kits vary widely. Some include many beads but weak pliers. Others include solid tools but limited materials. The best choice depends on whether you want immediate variety or long-term tool performance.
Look for pliers with aligned jaws, comfortable grips, and a spring that does not stick. Flush cutters should cut cleanly without pinching wire into sharp spikes. If a kit does not list tool types, assume it is more “toy” than “tool.”
| What to buy first | Why it matters | What to look for |
|---|---|---|
| 3-plier set + flush cutters | Supports most beginner projects | Chain-nose, round-nose, cutters with clean edges |
| Assorted jump rings and clasps | Enables finishing pieces reliably | Consistent size, plated brass or stainless, closed seams |
| Beading wire + crimps (or elastic cord) | Creates durable bracelets/necklaces | 49-strand wire for flexibility; quality crimp beads |
| Bead organizer | Prevents loss and speeds workflow | Adjustable compartments, secure latch |
For kits, prioritize those that include: a bead mat, basic findings, and instructions that show finishing methods (crimping, knotting, jump ring technique). Instructions matter because they prevent common failures like broken elastic knots or open jump rings.
- Best for fast wins: elastic bracelet kits with beads, cord, and clear knot-and-glue guidance.
- Best for skill-building: wirework starter kits that teach loops, wrapped loops, and simple links.
- Best for gifting: curated earring kits with matched components and multiple design variations.
Now, a grounded recommendation: if you can only upgrade one item, upgrade cutters first. Clean cuts reduce sharp ends, improve comfort, and make your work look intentional.
Final Verdict
If you are asking, “how can I make jewelry,” the most reliable answer is: pick one technique, buy a small set of dependable tools, and finish simple projects repeatedly. Consistency beats complexity. Every time.
Beading and basic chain work are the quickest entry points because they teach measurement, spacing, and finishing without requiring advanced equipment. Wire wrapping is an excellent second step because it develops control and opens up more design options with minimal added cost.
Keep your standards practical. Your first pieces should be wearable, secure, and comfortable. That means smooth ends, closed jump rings, and clasps that do not snag. When you hit a snag, rebuild the connection rather than forcing it to “almost work.”
- Start small: bracelets and earrings teach core assembly fast.
- Invest wisely: better hand tools improve results immediately.
- Work safely: eye protection and clean work surfaces prevent avoidable injuries.
Once you have completed 10 finished pieces, you will know your style preferences, your favorite materials, and which specialty tools are actually worth buying. That is the moment to expand with confidence.
FAQ: What is the easiest type of jewelry to make at home?
Elastic bead bracelets and simple drop earrings are the easiest. They require minimal tools, use forgiving materials, and teach essential skills like spacing, symmetry, and secure finishing.
FAQ: How do I choose the right wire gauge and findings?
Match wire gauge to the job. Thicker wire (lower gauge number) holds shape for hooks and frames, while thinner wire works for wrapping and delicate links. For findings, match metal color and confirm sizes: jump ring diameter must fit both the chain link and the charm loop without forcing it.
FAQ: Can I make jewelry and sell it legally?
Yes, but you must represent materials accurately and follow local business rules. Use clear product descriptions (plated vs. solid, stainless vs. sterling), keep receipts for components, and consider allergy-safe options like stainless steel or titanium for ear wires.
Final Thoughts
Jewelry-making is a skill you build with repetition, not a talent you either have or do not. Choose a method, gather a small, reliable toolkit, and complete projects that teach one new technique at a time. Small wins compound.
Work cleanly. Measure twice. Close every jump ring fully. If you do those three things, your pieces will look better, last longer, and feel more comfortable to wear. Now, pick one design and make it today, then improve the next one with what you learned.